Many businesses, entrepreneurs, and content creators are looking to create professional-looking vertical videos, but don’t have the budget to hire a production company.
Fortunately, there are now tools and resources available that allow you to Craft Professional Vertical Videos from Home to create high-quality, visually appealing vertical videos from the comfort of your own home. In this blog post, we’ll explore the steps, tools, and best practices for crafting professional vertical videos from home.
We’ll discuss the kinds of equipment you’ll need, the types of software and editing tools you should use, and the ways you can optimize your videos for optimal quality and reach.
We’ll also discuss the importance of video format and how you can create content that is both engaging and effective.
Whether you’re a novice or a seasoned pro, this post will provide valuable insights and tips to help you create vertical videos that stand out from the crowd. Get ready to become a master of vertical video production!
Elevate your content game by mastering the art of crafting professional vertical videos from home with Camtasia, a tool that effortlessly combines ease of use with powerful editing capabilities.
Instead of filming horizontal videos and then cropping them, embrace Camtasia’s dedicated vertical video features to maintain a crisp resolution and optimal framing right from the start.
This specialized approach not only saves time but ensures that each clip is perfectly aligned for social media platforms like Instagram Stories or TikTok.
Furthermore, using Camtasia’s extensive library of built-in transitions and animations can significantly polish your final product without requiring advanced technical skills.
Imagine showcasing product demonstrations, DIY tutorials, or personal vlogs in high-quality vertical format that captures attention instantly.
By leveraging Camtasia’s user-friendly interface, you can focus on what truly matters: telling an engaging story while standing out in the crowded digital landscape.
Table of Contents Craft Professional Vertical Videos from Home
Invest in a tripod and a gimbal
One of the most important investments to make when crafting professional-looking vertical videos from home is a tripod and a gimbal.
A tripod will make sure that your shots are as steady as possible, while a gimbal will help to smooth out any bumps and make sure your footage looks as good as possible.
Investing in a good tripod and gimbal will help to ensure that your vertical videos look smooth and professional.
Incorporating a tripod and gimbal into your toolkit while using Camtasia can significantly elevate the quality of your video production.
A tripod ensures stability, reducing shaky footage that distracts viewers and undermines your message.
It guarantees consistent framing, allowing smooth transitions between scenes without the need to constantly realign your camera.
This consistency saves valuable editing time in Camtasia, as you won’t have to correct for unsteady shots or uneven angles.
A gimbal, on the other hand, offers dynamic shot possibilities while maintaining stability.
Imagine effortlessly tracking moving subjects with fluid motion—these sophisticated tools minimize vibrations and jitters often encountered in handheld filming.
Integrating such seamlessly stable clips into Camtasia not only enhances visual appeal but also keeps your audience engaged through professional-quality content.
By investing in both a tripod and gimbal, you’re setting up a solid foundation for superior video projects that stand out for their polished look and compelling delivery.
Record footage in landscape mode
Before you start recording, it’s important to understand the difference between horizontal (landscape) and vertical (portrait) videos.
While both have their advantages, this document is specifically about creating professional-looking vertical videos.
That being said, we still recommend that you record footage in landscape mode. This will give you the flexibility to crop and rotate your footage while still preserving the quality of the video.
Additionally, recording in landscape mode will make it easier to work with the video in post-production.
Recording footage in landscape mode can significantly elevate the production value of your videos, especially when edited with a powerful tool like Camtasia.
Landscape orientation aligns perfectly with our natural field of vision, offering a more immersive and professional viewing experience.
This aspect ratio also ensures compatibility across various platforms such as YouTube, Vimeo, and social media channels that favor widescreen formats.
Using Camtasia to edit your landscape-oriented footage simplifies the post-production process dramatically.
The software’s intuitive interface allows you to seamlessly integrate different elements such as annotations, transitions, and callouts that align better within a wider frame.
By capturing high-quality video in landscape mode from the outset, you make it easier for Camtasia to enhance your content without compromising its visual integrity.
Invest time in setting up your recordings in landscape mode; this small adjustment can yield significant returns by making your videos look more polished and engaging.
Use a video editing software
After shooting your video, you’ll need to edit it. Don’t worry, you don’t need to be a professional video editor to make polished, professional-looking vertical videos.
All you need is a video editing software. There are many options available, both free and paid. Some of the popular free options include iMovie and Windows Movie Maker.
If you want a more advanced option with lots of features, then you might want to consider a paid software such as Adobe Premiere Pro.
With a video editing software, you can easily add titles, transitions, special effects, music, and more to your video. Once you’re done, you can export your finished video for sharing with the world.
Cut and edit clips
Once you’ve captured all your footage, you’ll need to start editing. This is where you’ll use your software of choice to cut and edit clips, create transitions, and add in any effects that you want to use.
You’ll also want to pay attention to the length of your video, since most vertical videos should be brief and engaging.
This is also where you’ll insert any text or graphics you want to use, ensuring that everything looks great and is readable on a small device.
Don’t forget to add audio clips and music to further enhance the video. Once you’ve got the video looking just the way you want it, you’re ready to export and share it!
Incorporate proper transitions
Transitions are vital when crafting professional vertical videos. They help to move the story along, and guide viewers through your video.
Incorporating proper transitions can make all the difference in the professionalism and quality of your video; they should be used to smoothly move between scenes and shots, ensuring the video flows well.
There are various types of transitions you can use, such as cuts, fades, slides, and wipes, each with their own effect. Experiment with different transitions to see which works best for your video.
Add text and music
After you’ve completed your video editing, it’s now time to add text and music to make your video look even more professional.
Adding text and music can help to convey certain emotions and emphasize the message you want to get across in your video.
When adding text, use fonts that match the overall tone of your video, and be sure to add transitions so the text appears in a smooth and natural way. Similarly, choose music that fits the mood and theme of your video.
You can find royalty-free music online, or use music from your own library. With text and music in place, your vertical video is complete and ready to be shared!
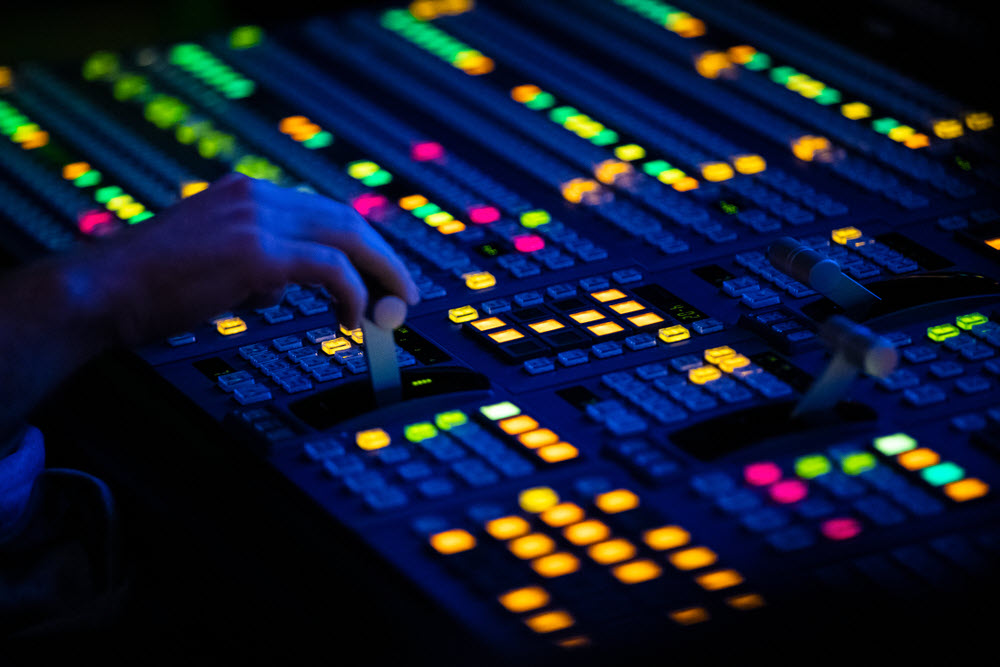
Adjust the sound levels
Once you have captured the footage for your vertical video, you need to adjust the sound levels. It’s important to make sure the audio is clear and easy to understand.
The best way to do this is to use a good set of headphones and adjust the sound levels until the sound is neither too loud nor too quiet.
If you need to make adjustments to the sound levels, use the audio mixer in the video editing program to make sure the levels are perfect.
Export the final file
After you have finished editing your video, it is time to export the final file. This step can be as simple or as complex as you make it.
For the simplest method, you can export the file as an MP4 file. This will be the most widely accepted format, and it should work in most applications.
For more complex exports, you can set up custom settings for audio and video codecs, frame rates, and resolutions. Make sure to save your settings so you can quickly apply them to future videos.
In conclusion, creating professional vertical videos from home is easier than ever.
With the right tools and resources, you can add a professional element to your videos and make them stand out from the crowd.
With the right tips and tricks, you can create engaging and eye-catching vertical videos that will help you reach your desired audience.
With a few simple steps, you can be well on your way to crafting professional vertical videos from the comfort of your own home.