Vertical Video Creation Wonders from Your PC
If you’re looking to add some excitement and innovation to your video content, then you should definitely consider shooting vertical video.
While this type of video used to be seen as amateurish, it’s now becoming more and more popular, especially on social media platforms like Snapchat and Instagram.
If you’re seeking to harness the power of Vertical Video Creation Wonders from Your PC, Camtasia might just be the secret weapon you’ve been looking for.
Unlike traditional editing tools, Camtasia offers a suite of features perfectly optimized for creating stunning vertical videos that capture attention and drive engagement on social media platforms like Instagram Stories or TikTok.
One key advantage of using Camtasia lies in its intuitive timeline editor, which allows you to seamlessly add elements such as annotations, callouts, and animations without any hassle.
This empowers you to craft professional-quality content that stands out from the competition.
Plus, with built-in options for aspect ratio settings specifically tailored for vertical formats, there’s no need to fumble around trying to adapt horizontal footage.
Another remarkable feature is Camtasia’s robust screen recording capability, letting you produce detailed tutorial videos or demonstration clips directly on your PC—all within a vertical frame.
Not only does this save time by consolidating multiple steps into one powerful tool but it also ensures consistency and high quality across all your video projects.
By leveraging Camtasia’s innovative functionalities, you can transform your video creation process and tap into new audiences with content that’s tailor-fit and visually compelling.
Table of Contents Vertical Video Creation Wonders from Your PC
So, what exactly is vertical video?
It’s simply video that’s shot in a portrait orientation, rather than the traditional landscape orientation. This gives the viewer a completely different experience, and can really make your content stand out.
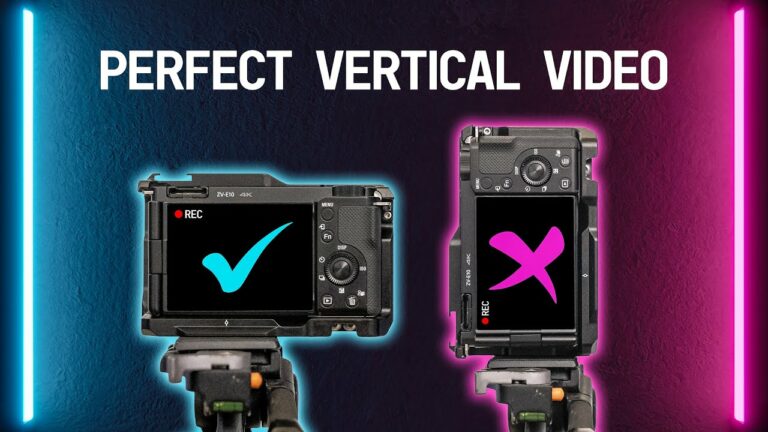
There are a few things to keep in mind if you want to start creating vertical video. First, you’ll need to make sure that your camera is oriented correctly.
Second, you’ll need to be aware of the different aspect ratios for vertical video (4:5 or 9:16 are the most popular). Finally, you’ll want to edit your video specifically for a vertical format, which may
Use the correct format
If you’re creating vertical video for social media, it’s important to use the correct format. Most social media platforms have specific requirements for vertical video, so it’s important to check the requirements before you start creating your video.
Generally, vertical video should be shot in a 9:16 aspect ratio. This is the native aspect ratio for most smartphones, so it’s the easiest to work with. You can also shoot in a 1:1 aspect ratio, which is square video, but this isn’t as common for vertical video.
When you’re shooting vertical video, it’s important to frame your shots correctly. This means keeping the focus of the video in the center of the frame, since that’s where viewers will be looking.
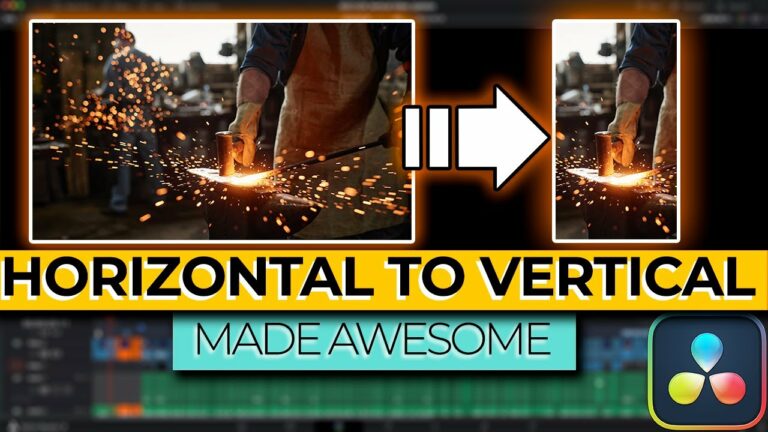
If you’re editing vertical video, there are a few things to keep in mind. First, most video editing software is designed for horizontal video, so you may have to make some adjustments to your workflow.
Second, you’ll want to make sure your video is exported in the correct format for social media. Again, each platform has its own requirements, so be sure to check before you export.
following these simple tips, you can create vertical video that looks great and is
Choose the right aspect ratio
Most people tend to think of video as horizontal, but there are actually a few different aspect ratios that you can use. The most common aspect ratio for video is 16:9, which is the standard widescreen format.
However, you can also use a 4:3 aspect ratio, which is the standard for traditional TV.
If you’re creating a video for social media, you’ll want to use an aspect ratio that’s specific to the platform you’re using. For example, Facebook uses a 16:9 aspect ratio, while Instagram uses a 1:1 ratio.
Keep in mind that the aspect ratio you choose will affect the size of your video. A 16:9 video will be wider than a 4:3 video, so make sure you choose an aspect ratio that will fit the space you have available.
Using Camtasia to create engaging video content requires more than just a keen eye for detail—it demands an understanding of the right aspect ratio.
Selecting the correct aspect ratio can significantly impact how your audience perceives and interacts with your content.
For instance, a 16:9 aspect ratio is ideal for most modern screens and platforms such as YouTube and social media, ensuring your visuals aren’t compromised by unsightly black bars or unexpected cropping.
However, don’t overlook the creative opportunities that different aspect ratios present.
For example, a 1:1 square format is perfect for Instagram feeds, enhancing visual engagement without viewers needing to rotate their devices.
Likewise, vertical videos (9:16) thrive on platforms like TikTok and Instagram Stories by naturally aligning with how users hold their phones.
By leveraging Camtasia’s versatility in adjusting these ratios effortlessly, you can tailor your content precisely to fit each platform’s unique requirements—maximizing reach and impact organically.
Select an appropriate frame rate
The frame rate you select for your vertical video will depend on a few factors, including the type of video you’re creating and the devices you’re targeting. Here are a few general guidelines to help you choose the right frame rate:
When using Camtasia to create engaging content, selecting an appropriate frame rate can significantly elevate the quality of your videos.
A higher frame rate, such as 60 frames per second (fps), ensures smooth transitions and captures intricate details, making it ideal for high-action tutorials or gaming walkthroughs.
On the other hand, a lower frame rate like 24 fps can instill a cinematic feel to your presentations and is often sufficient for slower-paced instructional videos.
Don’t underestimate the impact of matching your frame rate to your audience’s needs.
Using too high a frame rate for simple screen recordings may result in unnecessarily large files that burden both storage and streaming capabilities.
Conversely, compromising on frame rates when showcasing fast motions or interactive sessions might leave viewers frustrated with choppy visuals.
By thoughtfully considering the type of content you’re producing in Camtasia and aligning it with suitable technical choices, you create not just videos but immersive experiences that resonate deeply with your audience.
- If you’re creating a video for social media, a frame rate of 30fps is generally sufficient.
- If you’re creating a video for a website or other digital platform, a frame rate of 60fps is a good option.
- If you’re creating a video for television or another high-resolution format, a frame rate of 120fps or higher is recommended.
Determine the length of the video
Deciding on the length of your vertical video is one of the most important aspects of the creation process.
After all, if you make your video too long, people will lose interest and stop watching. On the other hand, if you make it too short, you won’t be able to deliver your message properly.
The best way to determine the length of your vertical video is to think about the purpose of the video and the attention span of your target audience.
If you’re creating a video for social media, for example, you should keep it under two minutes. And if you’re creating a video for a more general audience, you can make it up to five minutes.
When it comes to determining the length of your video content, using Camtasia can make all the difference.
This software not only promises ease of use but also robust editing features that streamline the process.
Imagine effortlessly trimming down footage, removing unnecessary pauses, and precisely tailoring your video to just the right length while maintaining viewer engagement.
One crucial insight is leveraging Camtasia’s visual timeline.
By dragging and dropping clips onto this intuitive interface, you achieve a granular control over every second of your project.
The split tool lets you cut with precision, ensuring no lingering dull moment makes its way into the final cut.
With such precise tools at your disposal, you’ll find it easier than ever to deliver concise, impactful videos that hold viewers’ attention from start to finish.
Push beyond mere technical aspects by considering audience behavior data provided within Camtasia’s analytics feature.
Understand where viewers drop off and adjust accordingly in future projects; a few extra seconds trimmed here and there could transform an average piece into compelling content that captivates until the very end.
When harnessed fully, Camtasia not only helps in measuring but mastering the art of video duration with unparalleled finesse.
Add titles and captions
Adding titles and captions to your vertical videos can help them stand out and be more engaging for viewers. Titles can be used to introduce the video and set the scene, while captions can be used to provide additional information or context.
If you’re using Windows Movie Maker, you can add titles and captions by selecting the “Text” option from the “Insert” menu. For more control over the appearance of your titles and captions, you can use a video editing program like Adobe Premiere Pro.
Incorporate animations and effects
Incorporating animations and effects into your vertical videos can really help them stand out from the rest. Animations can add an extra layer of interest and excitement, and effects can help highlight key points or add intrigue.
If you’re not sure how to get started, there are plenty of tutorials online that can help you get the hang of things. And once you get the hang of it, you’ll be able to create vertical videos that are truly wonders to behold.
Add music and sound effects
Music and sound effects can take your vertical videos to the next level. Adding the right soundtrack can set the mood, add energy, and even convey emotion. And sound effects can add an extra layer of interest, helping to bring your video to life.
There are a few things to keep in mind when choosing music and sound effects for your vertical videos. First, make sure the audio is high quality and fits the overall tone of your video. Second, keep the volume at a level that won’t distract from the video itself. And finally, don’t overdo it – a little goes a long way.
Share your video to the right platforms
Once you finish creating your vertical video, it’s time to share it with the world! But before you do, you need to make sure you’re sharing it on the right platforms.
There are a few different social media platforms that are perfect for vertical videos. YouTube, of course, is one of the most popular options. Instagram and Snapchat are also great choices, since they were designed with vertical videos in mind.
If you want to reach the widest possible audience, you should share your vertical video on all of these platforms. That way, you’ll be sure to reach everyone who might be interested in watching it.
So there you have it, some tips and tricks on how you can create vertical videos from your PC with little to no effort.
With a bit of creativity and some elbow grease, you can create amazing vertical videos that are sure to impress your friends and family. So what are you waiting for? Get started today and see what you can create!


